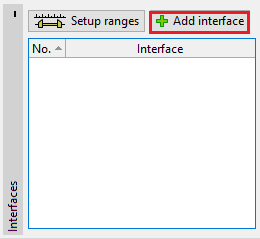
Adding Interface
The "Add interface" button starts the mode of inputting points of a new interface. The mouse mask is changed to an axes cross, and the visualization of the frame changes.
 "Interface" frame
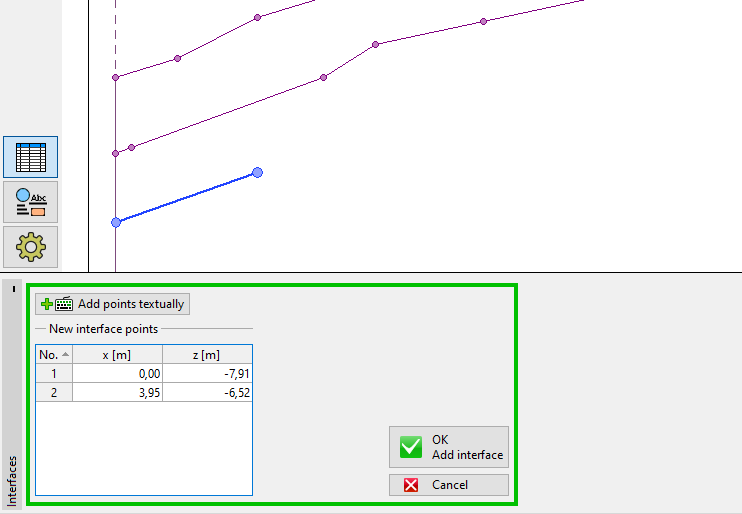
By pressing the left mouse button on the desktop, it is possible to input points of the interface. The coordinates (x, z) of every input point are added into the "New interface points" table. Alternatively, it is possible to add points in a dialog window by pressing the "Add point in dialog" button. An input point is always rounded to four significant figures (two decimal places) - input by mouse and keyboard is then completely equivalent.
During the input, it is possible to edit and delete individual points.
Input is terminated by pressing the "OK Add interface" button (adds the input interface onto the interface list), or by pressing the "Cancel" button (input interface is discarded).
When inputting, it is possible to use the function of the grid.
 Mode of interface points input
When inputting points, it is possible to use templates obtained from DXF import.
The program also allows introducing vertical interfaces - in such a case, the program requests to insert the point to the left or right. The buttons for confirming the action are colored - the same color is also used to visualize both input variants on the desktop.
 Vertical interfaces
The program also contains an automatic corrector of input interface that determines the interface end points and then adds the interface onto the list of interfaces.